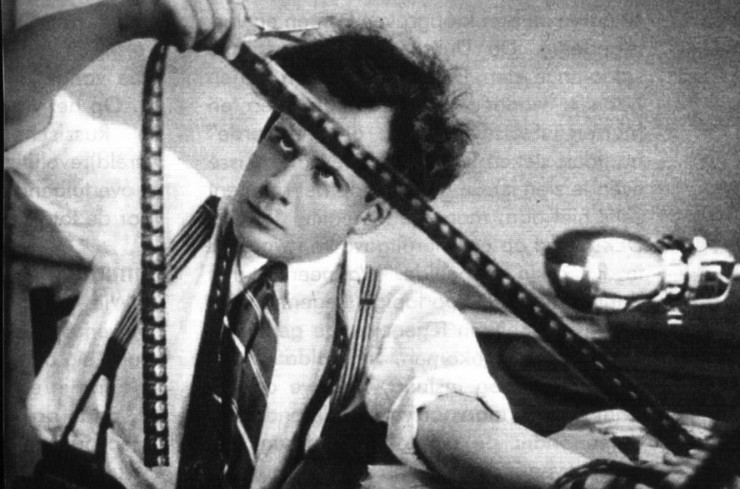
Premiere Pro can be a little overwhelming when you first use it this was made to help you understand it enough to do your video project for Time Arts. As always if you have any questions please let me know.
First you’ll need to set up a folder for your project.
I really, really really can’t stress how important it is for you to take a little bit of time to organize your files before you start editing. I know that editing is much more fun than organizing but please take a moment to put any new files you plan to use into the proper folder before you edit. This will ensure that you will be able to work on any computer you want as long as you have your external drive.
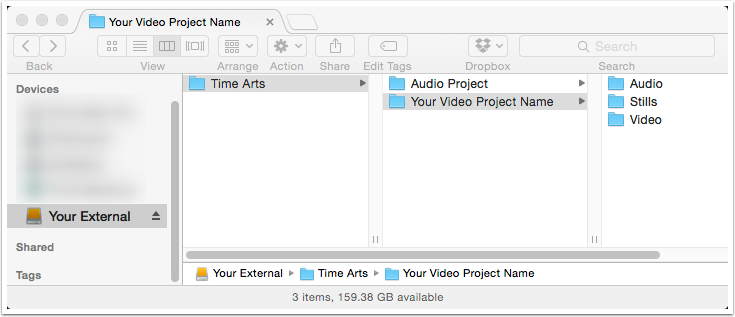
The structure below is recommended if you choose not to use it at the very least make sure you copy all of your files into a folder on your external drive.
- Create a folder with your project’s name.
- In that folder create these three folders – Audio, Video, Stills
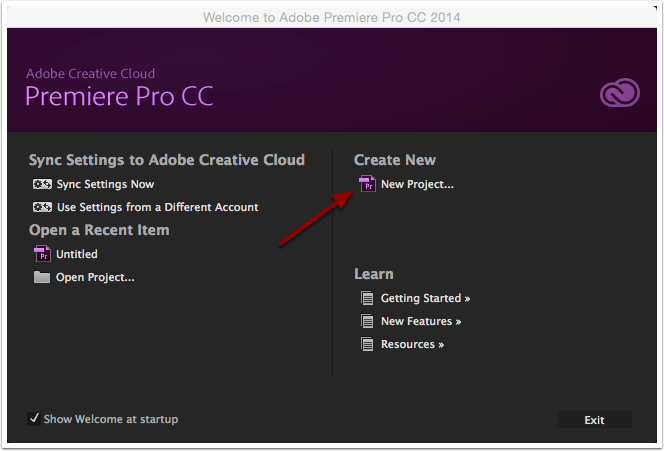
Create a new project
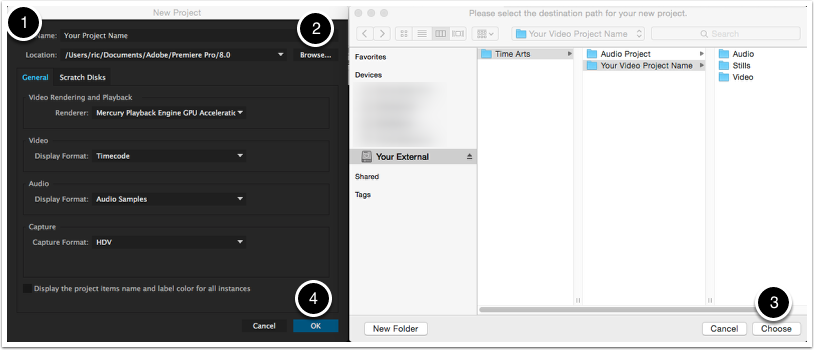
Setup your new project
- Give your project a name.
- Click the ‘Browse…’ button.
- Navigate to the folder you setup for your video project and then click on the ‘Choose…’ button.
- Click the ‘OK’ button to create your project.
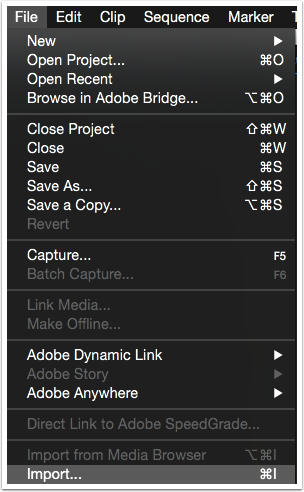
Import your media files.
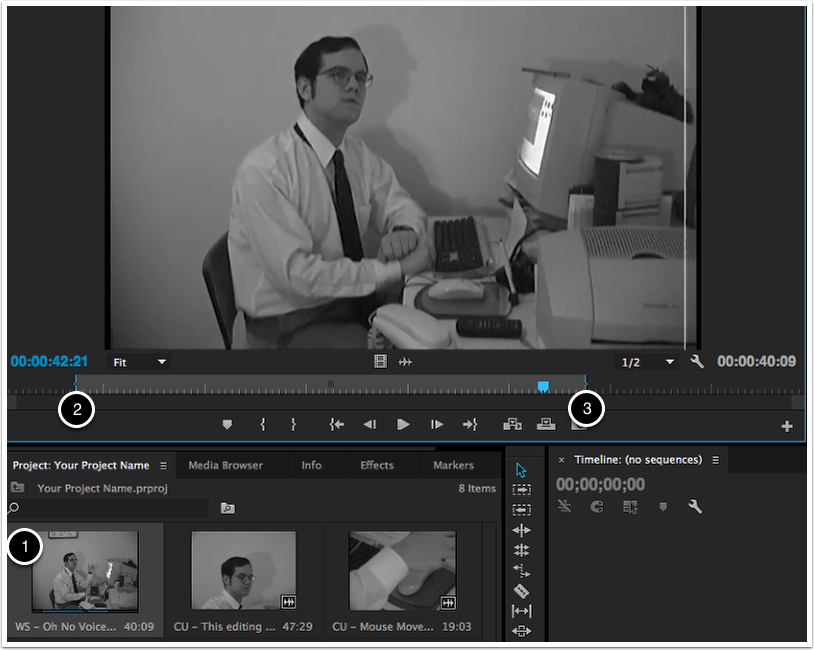
Prepare your clip to move to the timeline.
- Double click on the clip you want to prepare and it will show up in the Source pane.
- Start playing the clip by pressing the Space Bar.
- Press the ‘I’ key (for the in point) to set the point where you want the clip to start.
- Press the ‘O’ key (for the out point) to set the point where you want the clip to end.
NOTE: You can move forward and back a frame by using the left and right arrow keys.
Add your clip to the timeline.
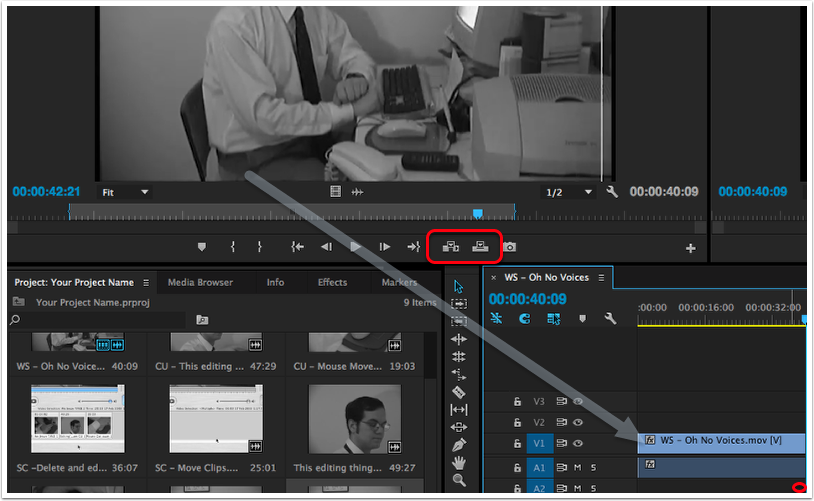
While you can do this by dragging the clip down to the timeline, this can cause a lot of problems when you are trying to finetune your edit it’s really recommended that you use the insert and overwrite buttons (highlighted below) or use the keyboard commands:
The period key ‘.’ to overwrite video from the playhead on the timeline.
The semicolon key ‘;’ to insert video from the playhead and move the rest of your clips further down the timeline.
NOTE:
- Video will always be placed on the track that is highlighted with a blue box (V1 in the picture below).
- Adding an in point to your sequence on the timeline will always override the toolbar position for where a clip will be placed.
