First things first

- Before shooting make sure you format the memory card so you have all of the space you need for your video.
- Cleaning your lens is a really good idea (use a soft cloth or lens tissue, do not use any cleaner other than that approved for camera lenses).
- Make sure your batteries are fully charged.
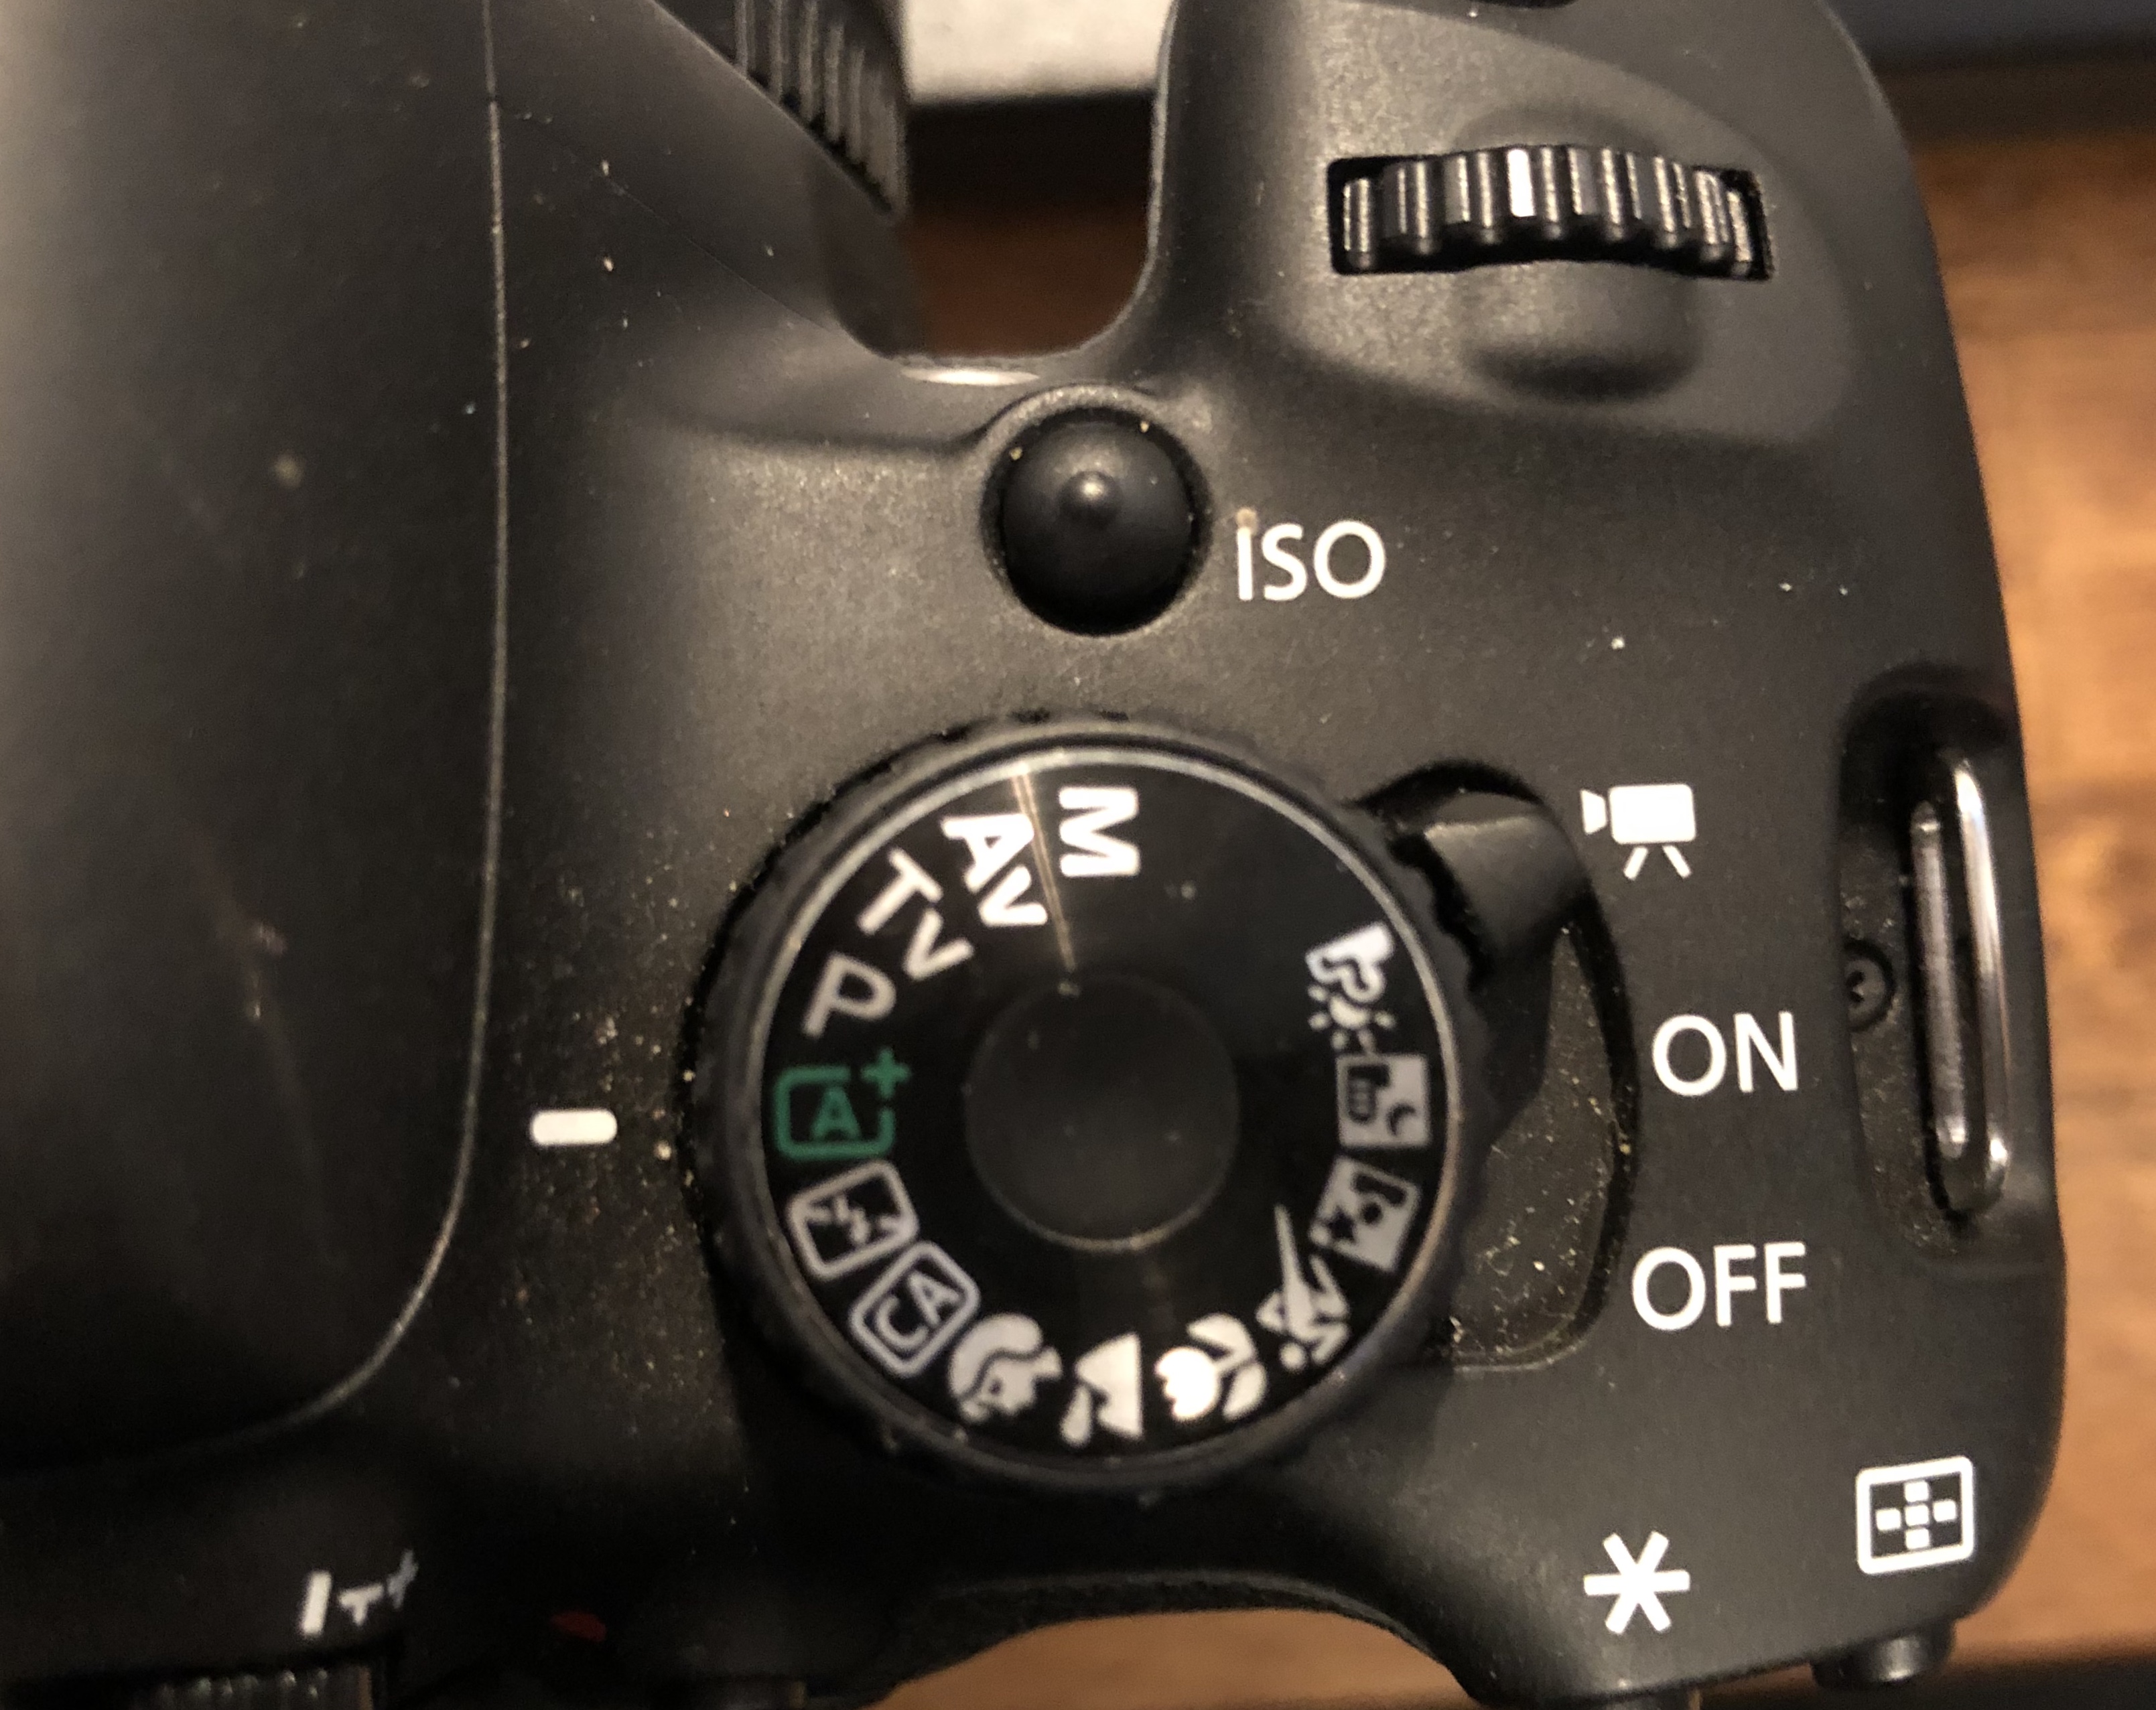
- Set the camera to camera mode.
Resolution and frame rate.
Frame rate sets how many frames per second (fps) are shot, traditionally films shoot at 24 fps and broadcast video is shot at 30 fps. If you plan on using slow motion use 30 fps for those shots even if you plan to shoot the rest of the piece at 24fps.
You will want to set your resolution to the highest possible (1920X1080)
Setting your frame rate and resolution

- Make sure the camera is set to manual.
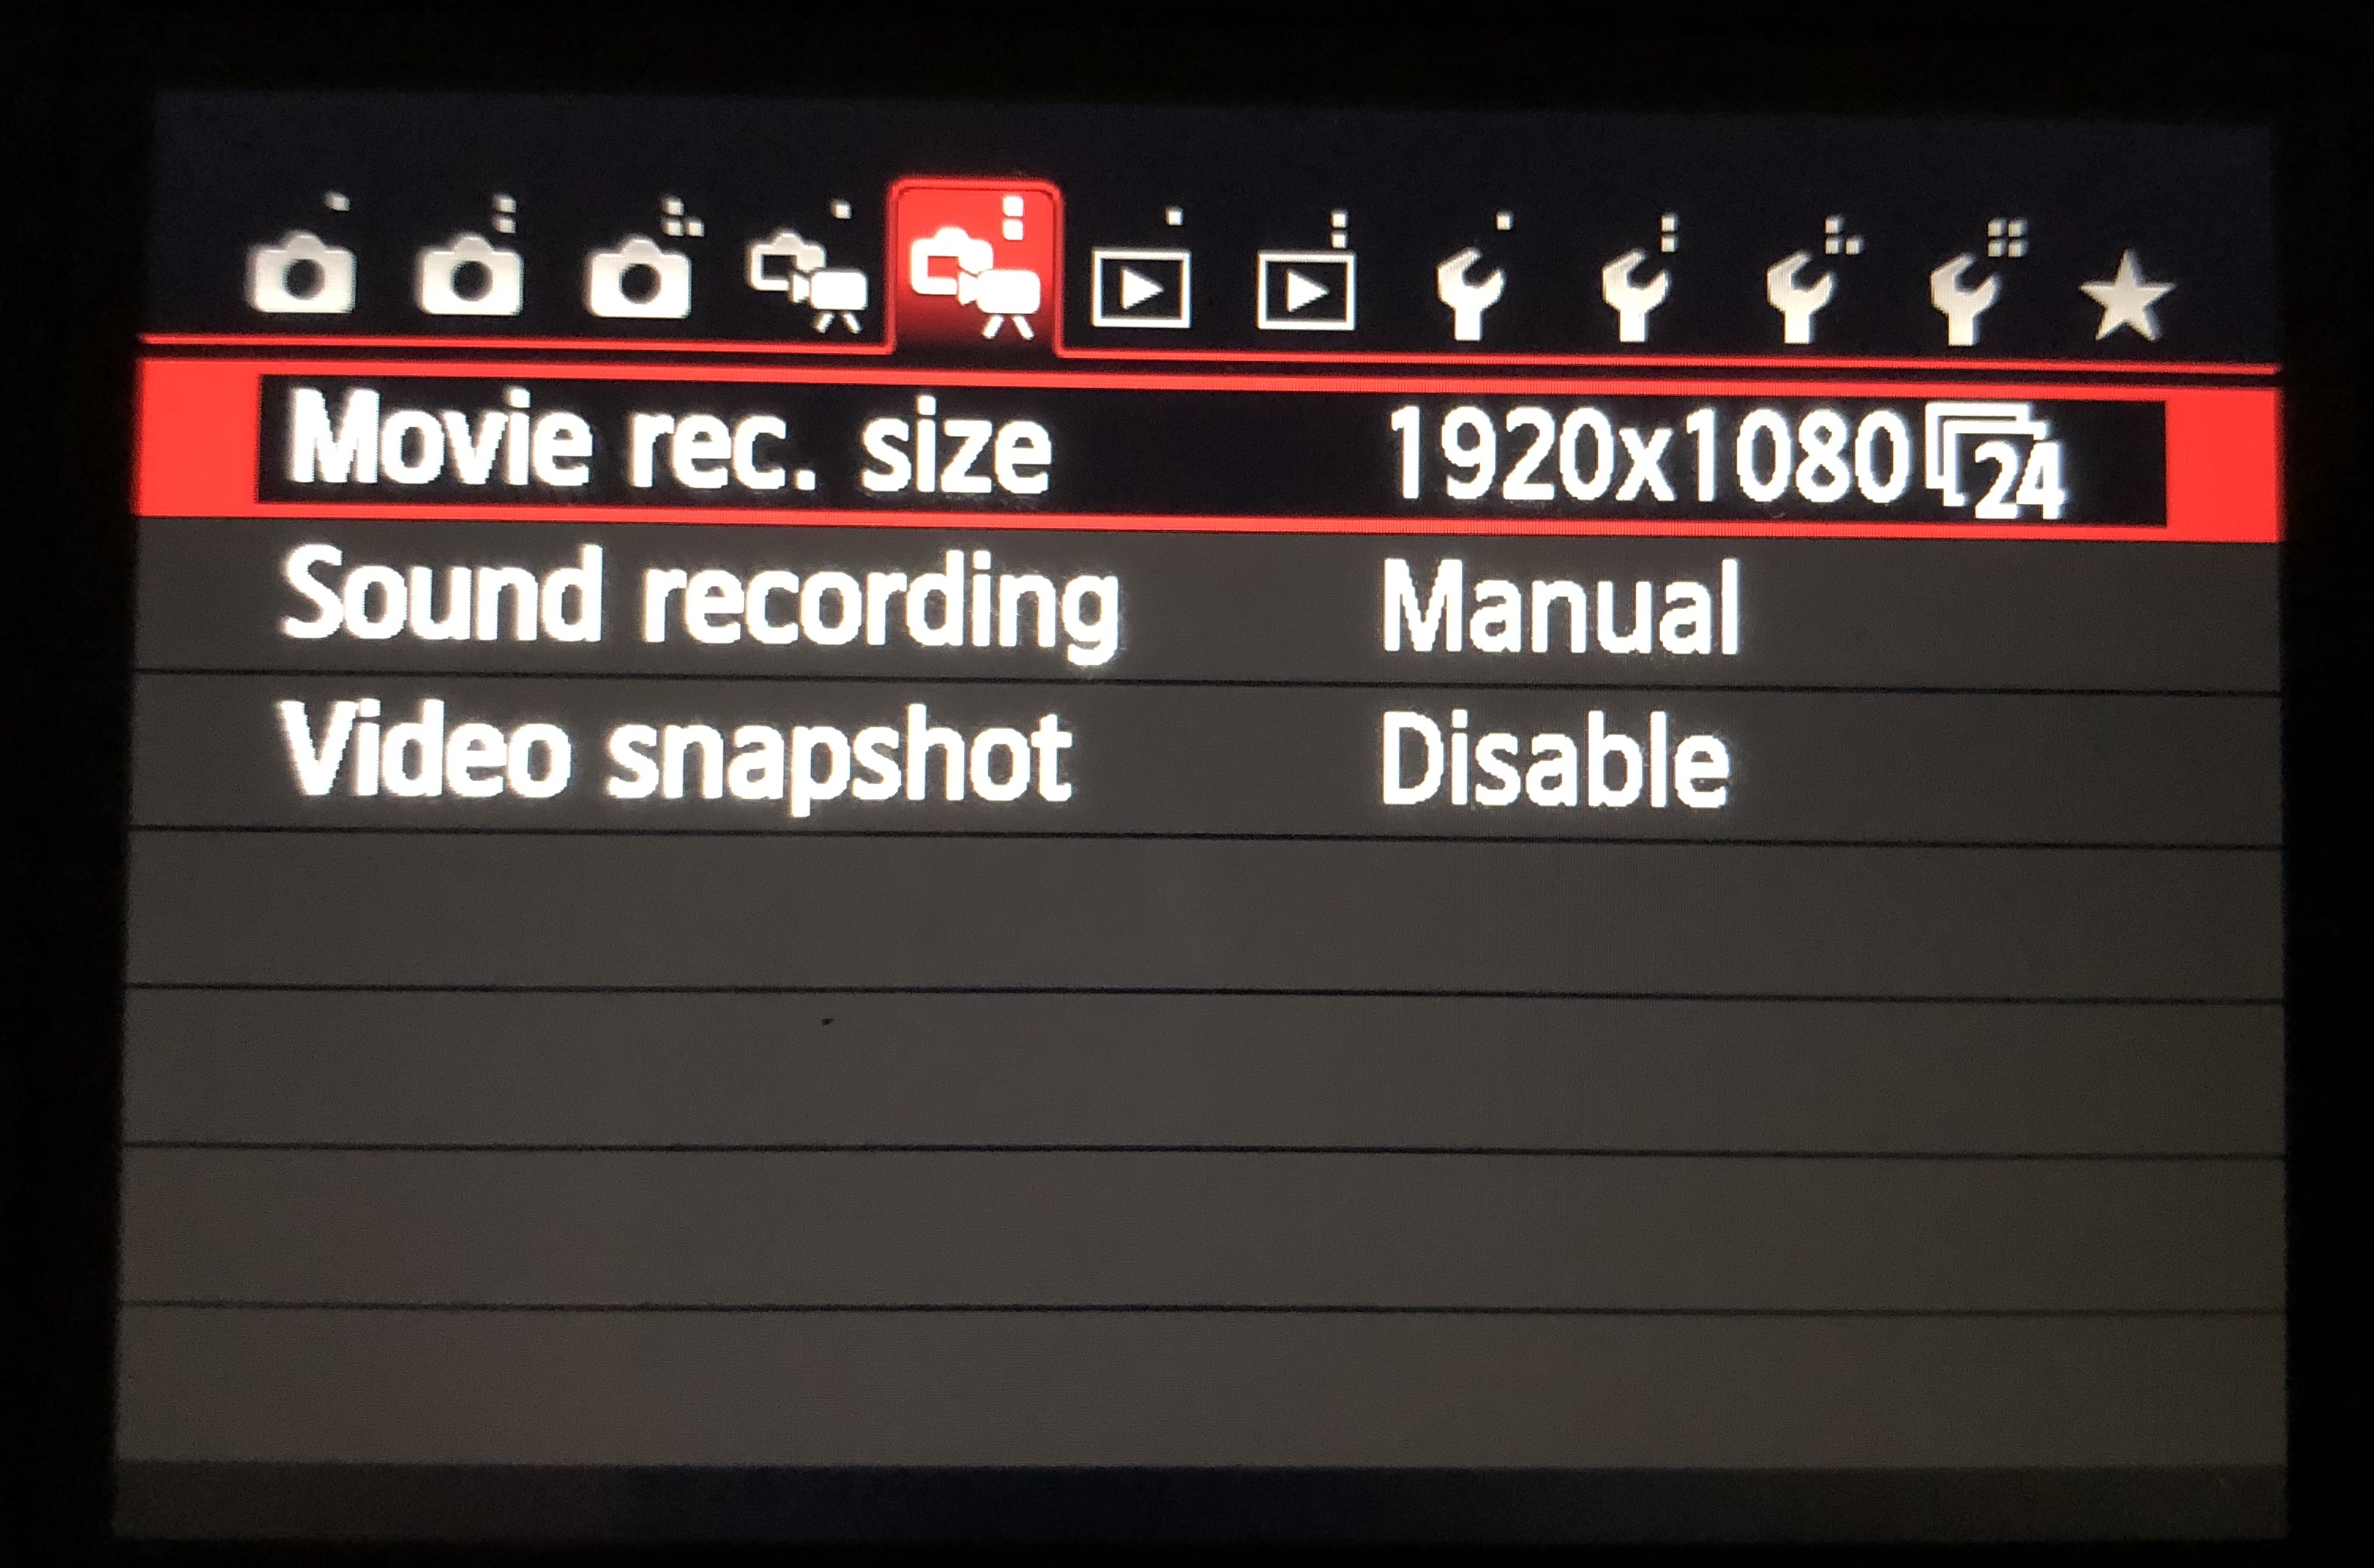
- Press the menu button.
- Move the selector over until you see an option which says “Movie rec. size”.
- Press the “SET” button.
- In the new menu that appears select your resolution and frame rate.
Shutter speed
A shutter is the part of the camera that controls how long each frame of you movie is exposed to light. Shutter speed will affect the amount of motion blur and how bright your image is.
- Higher shutter speeds will be darker and have less motion blur.
- Lower shutter speeds will be brighter but have more motion blur.
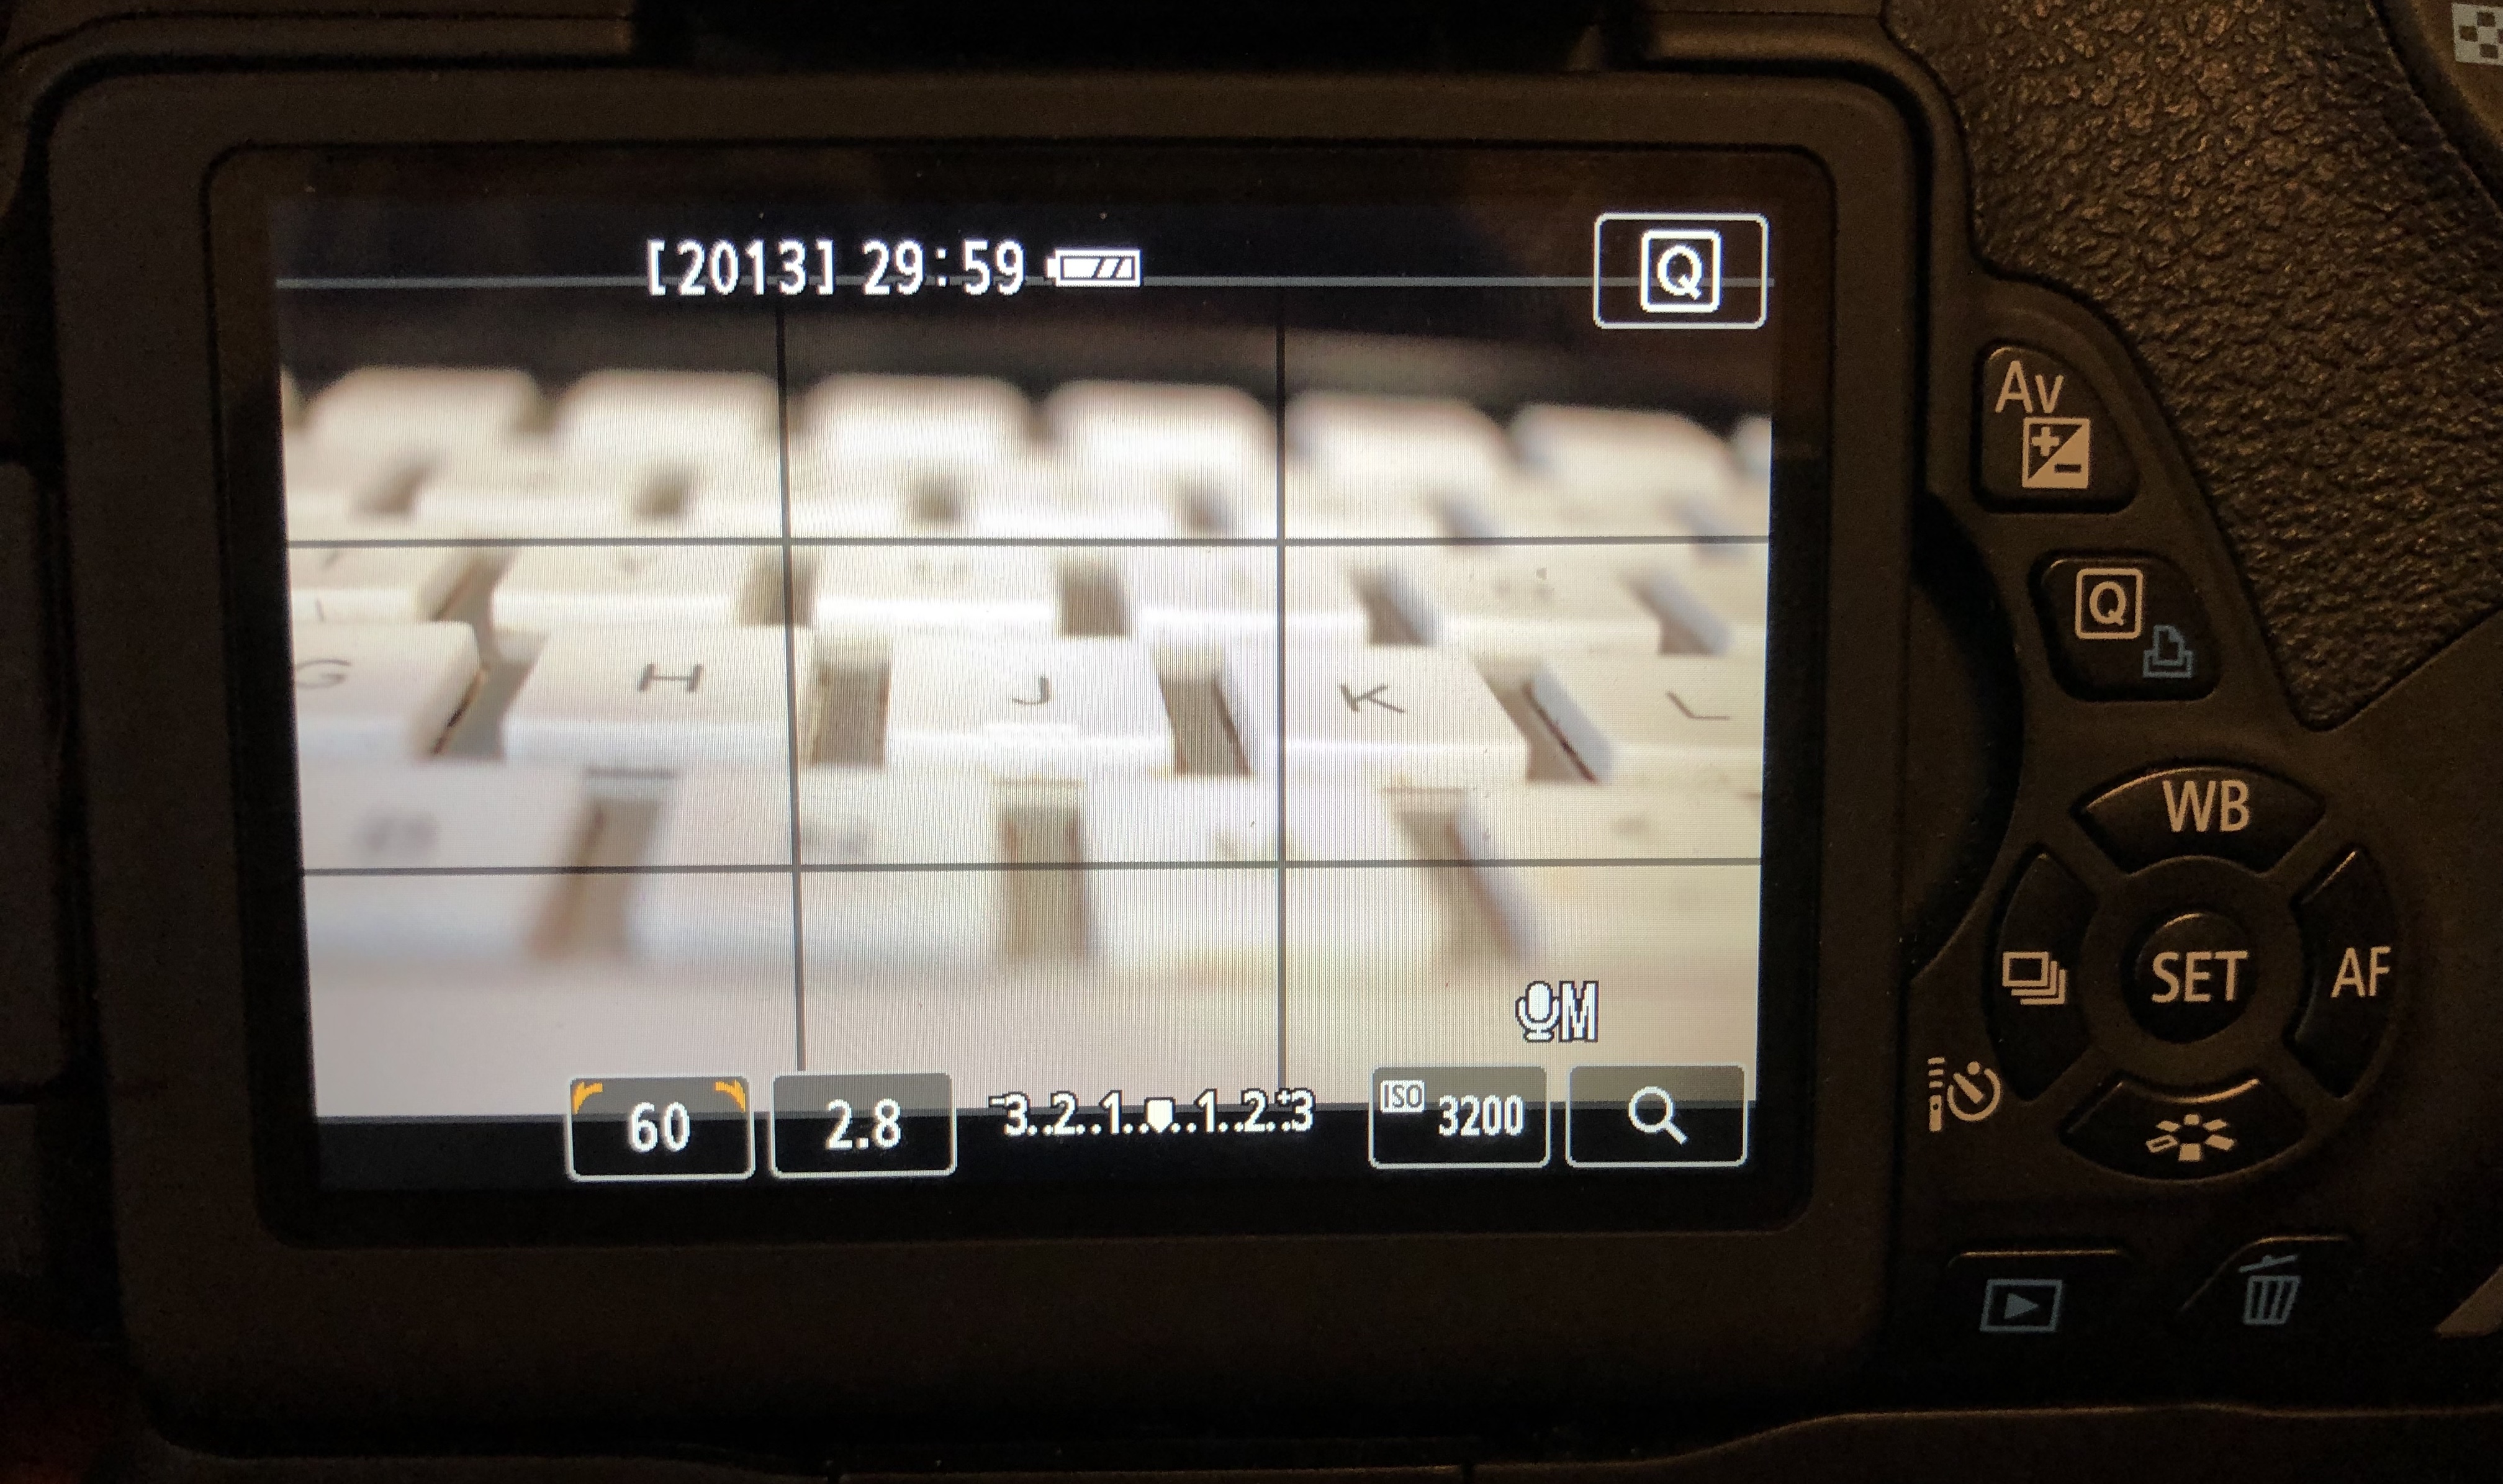
- To achieve the closest shutter speed to what you would find in film double the fps second so 50 for 24fps and 60 for 30fps.
Setting shutter speed

- Make sure the camera is set to manual.
- Press the Av button near the display screen and hold it while rotating the selection wheel.
- Unless you’re going for a stylized look you want to keep your shutter speed at the same setting for the entire scene.
ISO
ISO stands for “International Standards Organization” and used to refer to the speed of analog film, with digital cameras you can increase the ISO to brighten the image but you will also add more digital noise. Reducing the ISO will also reduce noise and brightness.
Setting ISO
- Make sure the camera is set to manual mode.
- Press the ISO button on top of the camera.
- Rotate the selection wheel (often on the back of the camera or near the ISO button) to change the ISO.
- You usually want to keep the same ISO for an entire scene to keep the look consistent.
Iris or f-stops
A camera’s Iris is very similar to your eyes’ iris, it contracts to let less light in and opens to let more light in. Besides controlling brightness how open or closed your iris is also affects how much of your background is in focus. The sharpness of focus of things behind and in front of your main subject is referred to as depth of field.
- A shallow depth of field occurs when your iris is more open and things which aren’t your subject are more blurred.
- A deep depth of field means more things are in focus and your iris is more closed.
- The f-stop is the way you measure how open or closed your iris is. A lower f-stop like 1.8 means the iris is more open while a lower f-stop like 22 means the iris is more closed.
How to set your f-stop
Most f-stops are controlled by the twisting a ring on the lens. The f-stop number is usually found on the lens.
Wide Angle and Telephoto lenses
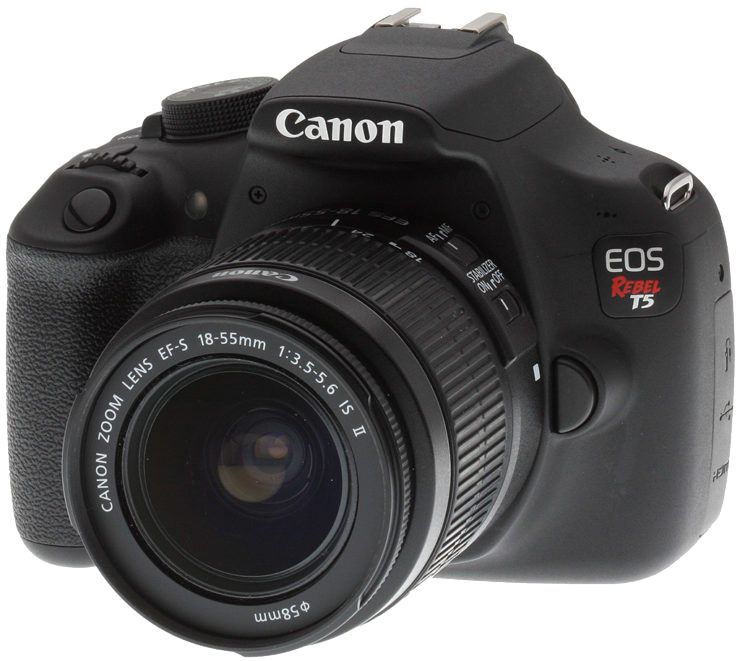
The cameras available to you at PNCA come with a zoom lens which is a combination of a telephoto and wide-angle lens.
- Wide angle lenses show more of the image but can cause barrel distortion or the fisheye effect.
- Telephoto lenses fill up less space and compress the background and foreground together.
Focus
- To make sure everything is in focus zoom all the way in on your subject get the focus and then zoom out.
- Don’t use autofocus, it can readjust at the worse times and will call more attention than something that is a little out of focus.
